The house is painted...WAHOO! We have a few areas of touch-up still to do, but really, I'm done. I don't know if I could see another paintbrush for quite some time. Say, spring? Or three years from now maybe? I am just thankful it's done and looks a whole lot better than it did. Here are the pictures that pretty much tell the story.

I have been wanting to take pictures of the house for a few days, but the leaves were everywhere in the front yard and I didn't want a picture with nasty leaves all over the ground. Silly, I know. E and I went out with the rake this morning and cleaned what we could. I only cleaned about half the front yard, and this is the pile we made. There are about this many more still out there. Anyone up to raking leaves? I'll even let you jump in them!
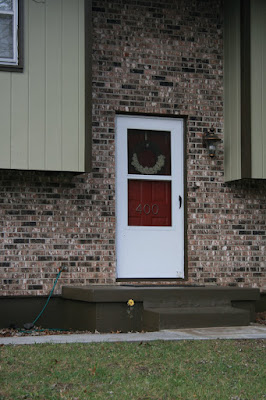
This is our front entry. It looks very bland right now because I'm just not sure what I want to do with it. I am tossing around a few ideas and will post an updated look when it's done, probably next spring or summer. :)
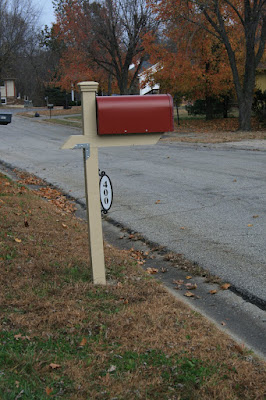
We put the new mailbox in a few months ago, but I haven't included pictures. The old one was a black box on a pole that was falling over towards the street. It was not cemented in and could be yanked right out of the ground. Pathetic, I know. We love this and it matches the color of the door!

These next few are just different angles of the house. The bonsai looking trees will be gone in the spring. We are going to redo the flower beds all along the front of the house, but winter is setting in (and life is just plain ol' hectic!) so not much will get done before spring now.

This picture doesn't look so green as the others, but it is a pale green color. To be specific, it is olive grey. (See the leaves that still need raking?!)

A side view with the chimney. We are looking forward to using our two fireplaces this winter!

Full view from the other side of the yard. If you want to see before pictures, click
HERE! Again, bonsai looking trees will be GONE in spring. ICK! What were they thinking?! We live in Missouri, people! This is the side that we raked this morning. Looks so much nicer without all those leaves!


 I have been wanting to take pictures of the house for a few days, but the leaves were everywhere in the front yard and I didn't want a picture with nasty leaves all over the ground. Silly, I know. E and I went out with the rake this morning and cleaned what we could. I only cleaned about half the front yard, and this is the pile we made. There are about this many more still out there. Anyone up to raking leaves? I'll even let you jump in them!
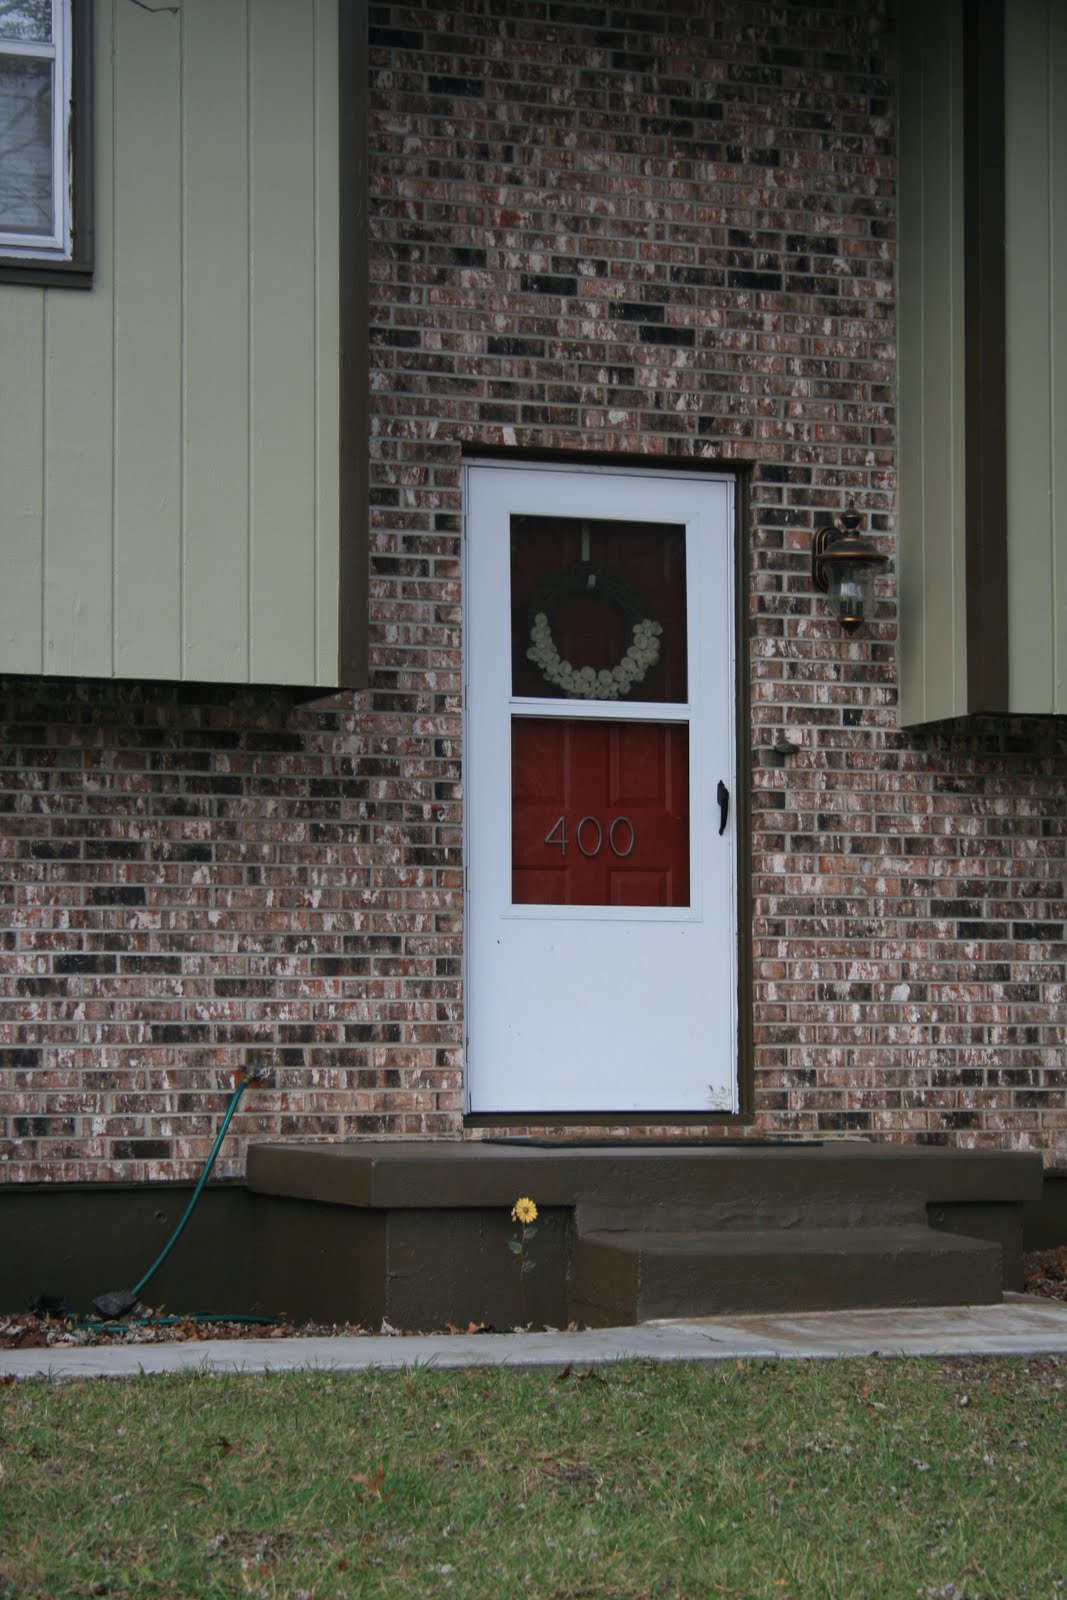 This is our front entry. It looks very bland right now because I'm just not sure what I want to do with it. I am tossing around a few ideas and will post an updated look when it's done, probably next spring or summer. :)
 We put the new mailbox in a few months ago, but I haven't included pictures. The old one was a black box on a pole that was falling over towards the street. It was not cemented in and could be yanked right out of the ground. Pathetic, I know. We love this and it matches the color of the door!
 These next few are just different angles of the house. The bonsai looking trees will be gone in the spring. We are going to redo the flower beds all along the front of the house, but winter is setting in (and life is just plain ol' hectic!) so not much will get done before spring now.
 This picture doesn't look so green as the others, but it is a pale green color. To be specific, it is olive grey. (See the leaves that still need raking?!)
 A side view with the chimney. We are looking forward to using our two fireplaces this winter!
 Full view from the other side of the yard. If you want to see before pictures, click HERE! Again, bonsai looking trees will be GONE in spring. ICK! What were they thinking?! We live in Missouri, people! This is the side that we raked this morning. Looks so much nicer without all those leaves!


 Yep, it's a contractor grade light fixture with absolutely NO character. Nothing that a little bit of paint and rewiring can't fix! This is what we did to it:
 My wanna-be electrician. He's gonna be a pro when I'm done with him! :) I think the tongue trick helped.
 All the bits and pieces. We only had one little nut left when we were done. Have NO idea where it goes, but who cares! The thing works and looks great!
 My funny little guy! He had to try the light on too. Too bad he doesn't have the tongue out like Daddy.
 The finished product! What do you think?!
 Entry Before
 Side Yard Before
 Ryan with his little helper making sure all the dirt is gone!
 Some of you asked about the fence, so here it is! We love it (as do the dogs)!
 PROGRESS!
 More PROGRESS!
 In these pictures you can see the new main and trim color, as well as the old peach and brick. I think it looks pretty good. What do you think?